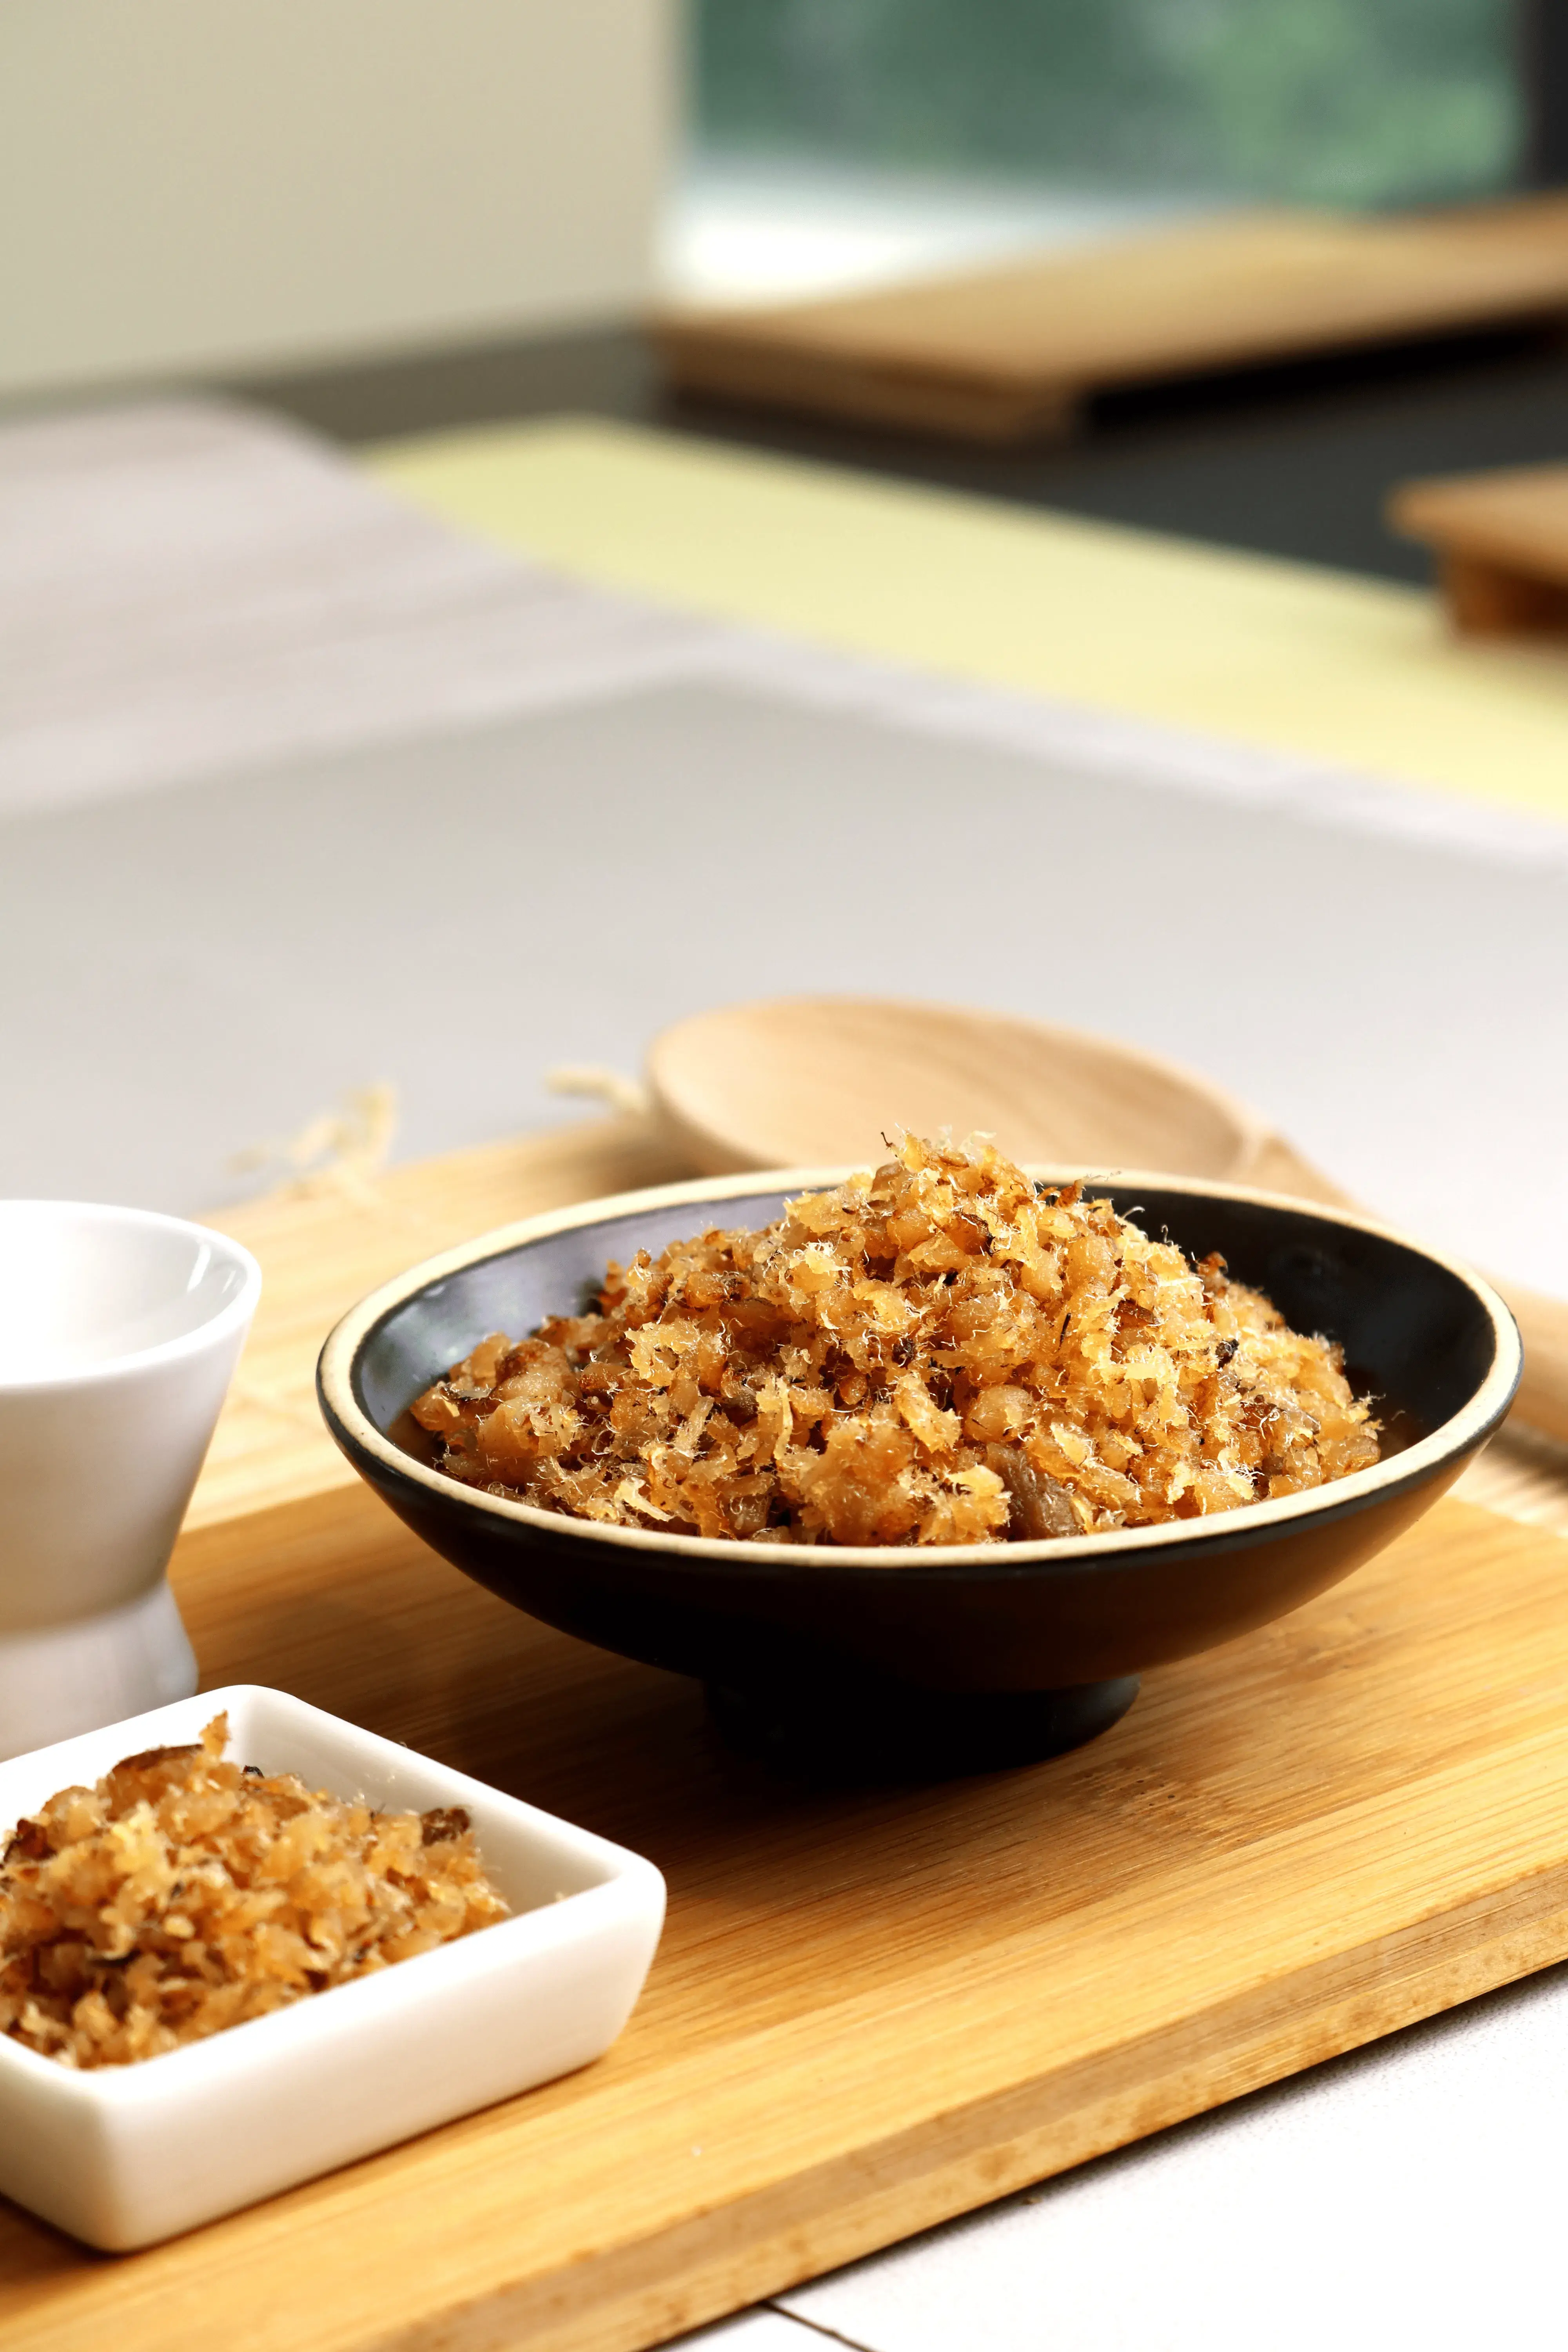
How Fish Floss Is Manufactured Step by Step01.webp366.39 KBYou make fish floss by selecting fish, cleaning and deboning, boiling, shredding, frying, seasoning, and packaging. You can follow these steps in order at home, or use them to understand how a fish floss manufacturer works. The process depends on low heat, constant stirring, and the right low-bone fish to create that light, fluffy texture. Tricky steps like double frying become simple when you know the visual cues. Watch for fibers that look light and dried; that signals the right moment. Keep heat low, stir without stopping, and you will achieve the same quality as commercial batches. Every stage builds on the last one, so take your time and observe each change.
Key Takeaways
Choose meaty, low-bone fish like tuna or cod for clean shredding.
Keep heat low and stir constantly to avoid burning and clumps.
Fry twice: first to dry, second to season for flavor and crunch.
Cool floss completely before packing in airtight containers.
Store in a cool, dry place to keep floss crisp and fresh.
Choosing And Preparing Fish
Picking Meaty, Low-Bone Fish
Your final texture depends on the fish you start with. Meaty fillets with few bones save you time at the deboning stage. They also shred into cleaner fibers. A fish floss manufacturer looks for the same qualities in bulk.
Cleaning, Curing, And Deboning
Start by killing the fish quickly and humanely. Rinse the bodies under cold running water. Then cure them with salt for a short time. This step firms the flesh and reduces unwanted odors.
Next, steam the fish bodies. Steam makes the flesh separate from the bones with less effort. Once the fish cools, pull away the skin and pick out every bone. Work over a clean surface and check for stray pieces with your fingers.
You do not need to stew the fish first. Fish meat is low in collagen and elastin, the proteins that need long cooking to break down. Skipping that step saves time and keeps the flesh tender. After deboning, you have clean meat ready for boiling.
Place the cleaned fish meat into a wide pot. Add water or broth until the meat sits just below the surface. Stir in salt, sugar, and your chosen seasonings. Some cooks add a slice of ginger or lemongrass. Keep the heat low from the start. A gentle simmer does the work. A hard boil will break the fibers. It will also ruin the final texture. You want the meat to turn tender without falling apart. Test the fish often with a fork. The flesh should flake easily. It should hold its shape. Fish meat contains little collagen and elastin. It does not need long stewing like beef or pork. A fish floss manufacturer follows the same rule. Overcooking makes the meat mushy. It becomes hard to shred. Watch the pot closely. Switch off the heat the moment the flesh feels tender. Drain the liquid. Let the meat cool until you can handle it.
Shredding Into Fine Fibers
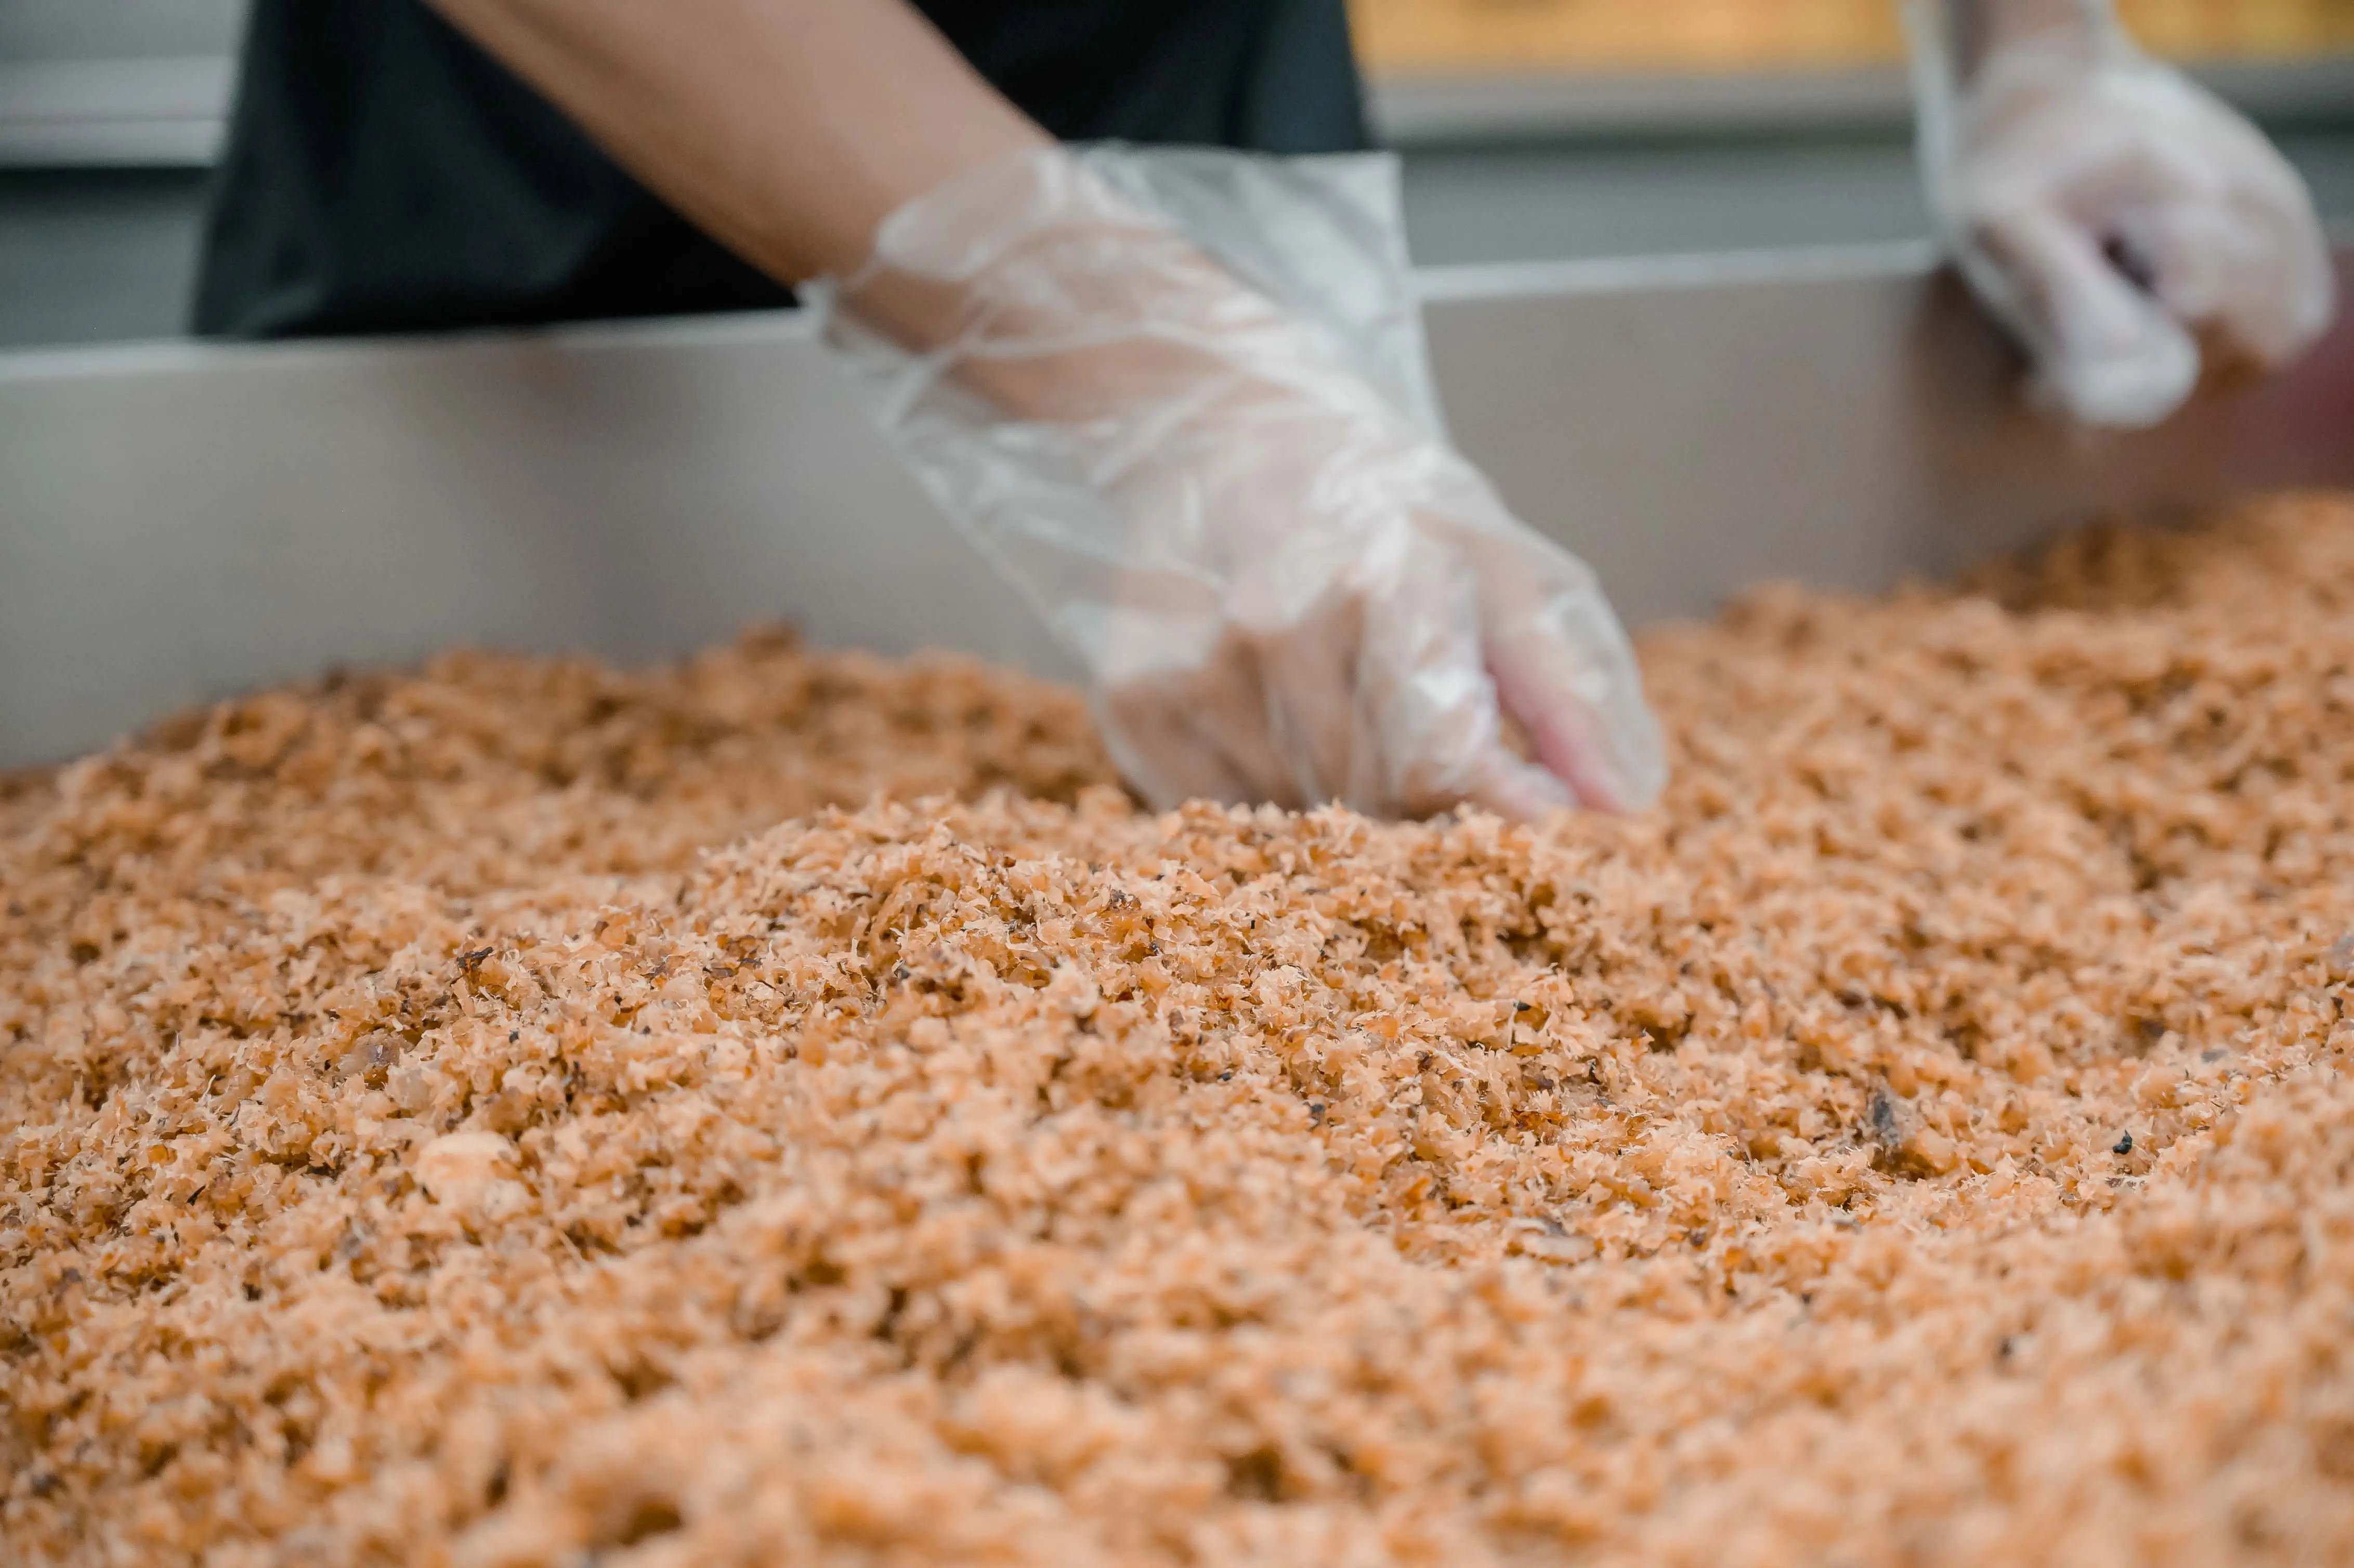
Begin shredding once the fish cools. Use fingers or two forks. Pull the meat apart along its natural grain. Work in small batches. Keep the strands separate. Look for the right visual cue. The fibers should look light, dry, and fully separated. This texture forms the base for frying. A fish floss manufacturer uses machines to reach this stage at scale. Cooked meat enters a shredding machine with variable-frequency blades. The blades tear the flesh into strips. Sieve apertures set the fineness. Standard apertures measure 3 mm. You can request 2 mm apertures. One commercial model, the ZYLS-600, runs on a 0.75 kW motor. It has a 140 mm roller and a stainless steel body. This unit processes 200 to 300 kilograms per hour.
How A Fish Floss Manufacturer Fries And Seasons
How Fish Floss Is Manufactured Step by Step03.webp355.29 KBFrying turns your shredded fibers into the light, fluffy floss you know. This stage has two rounds. Each round has its own goal. A fish floss manufacturer follows the same pattern, just at a larger scale.
First Fry To Remove Moisture
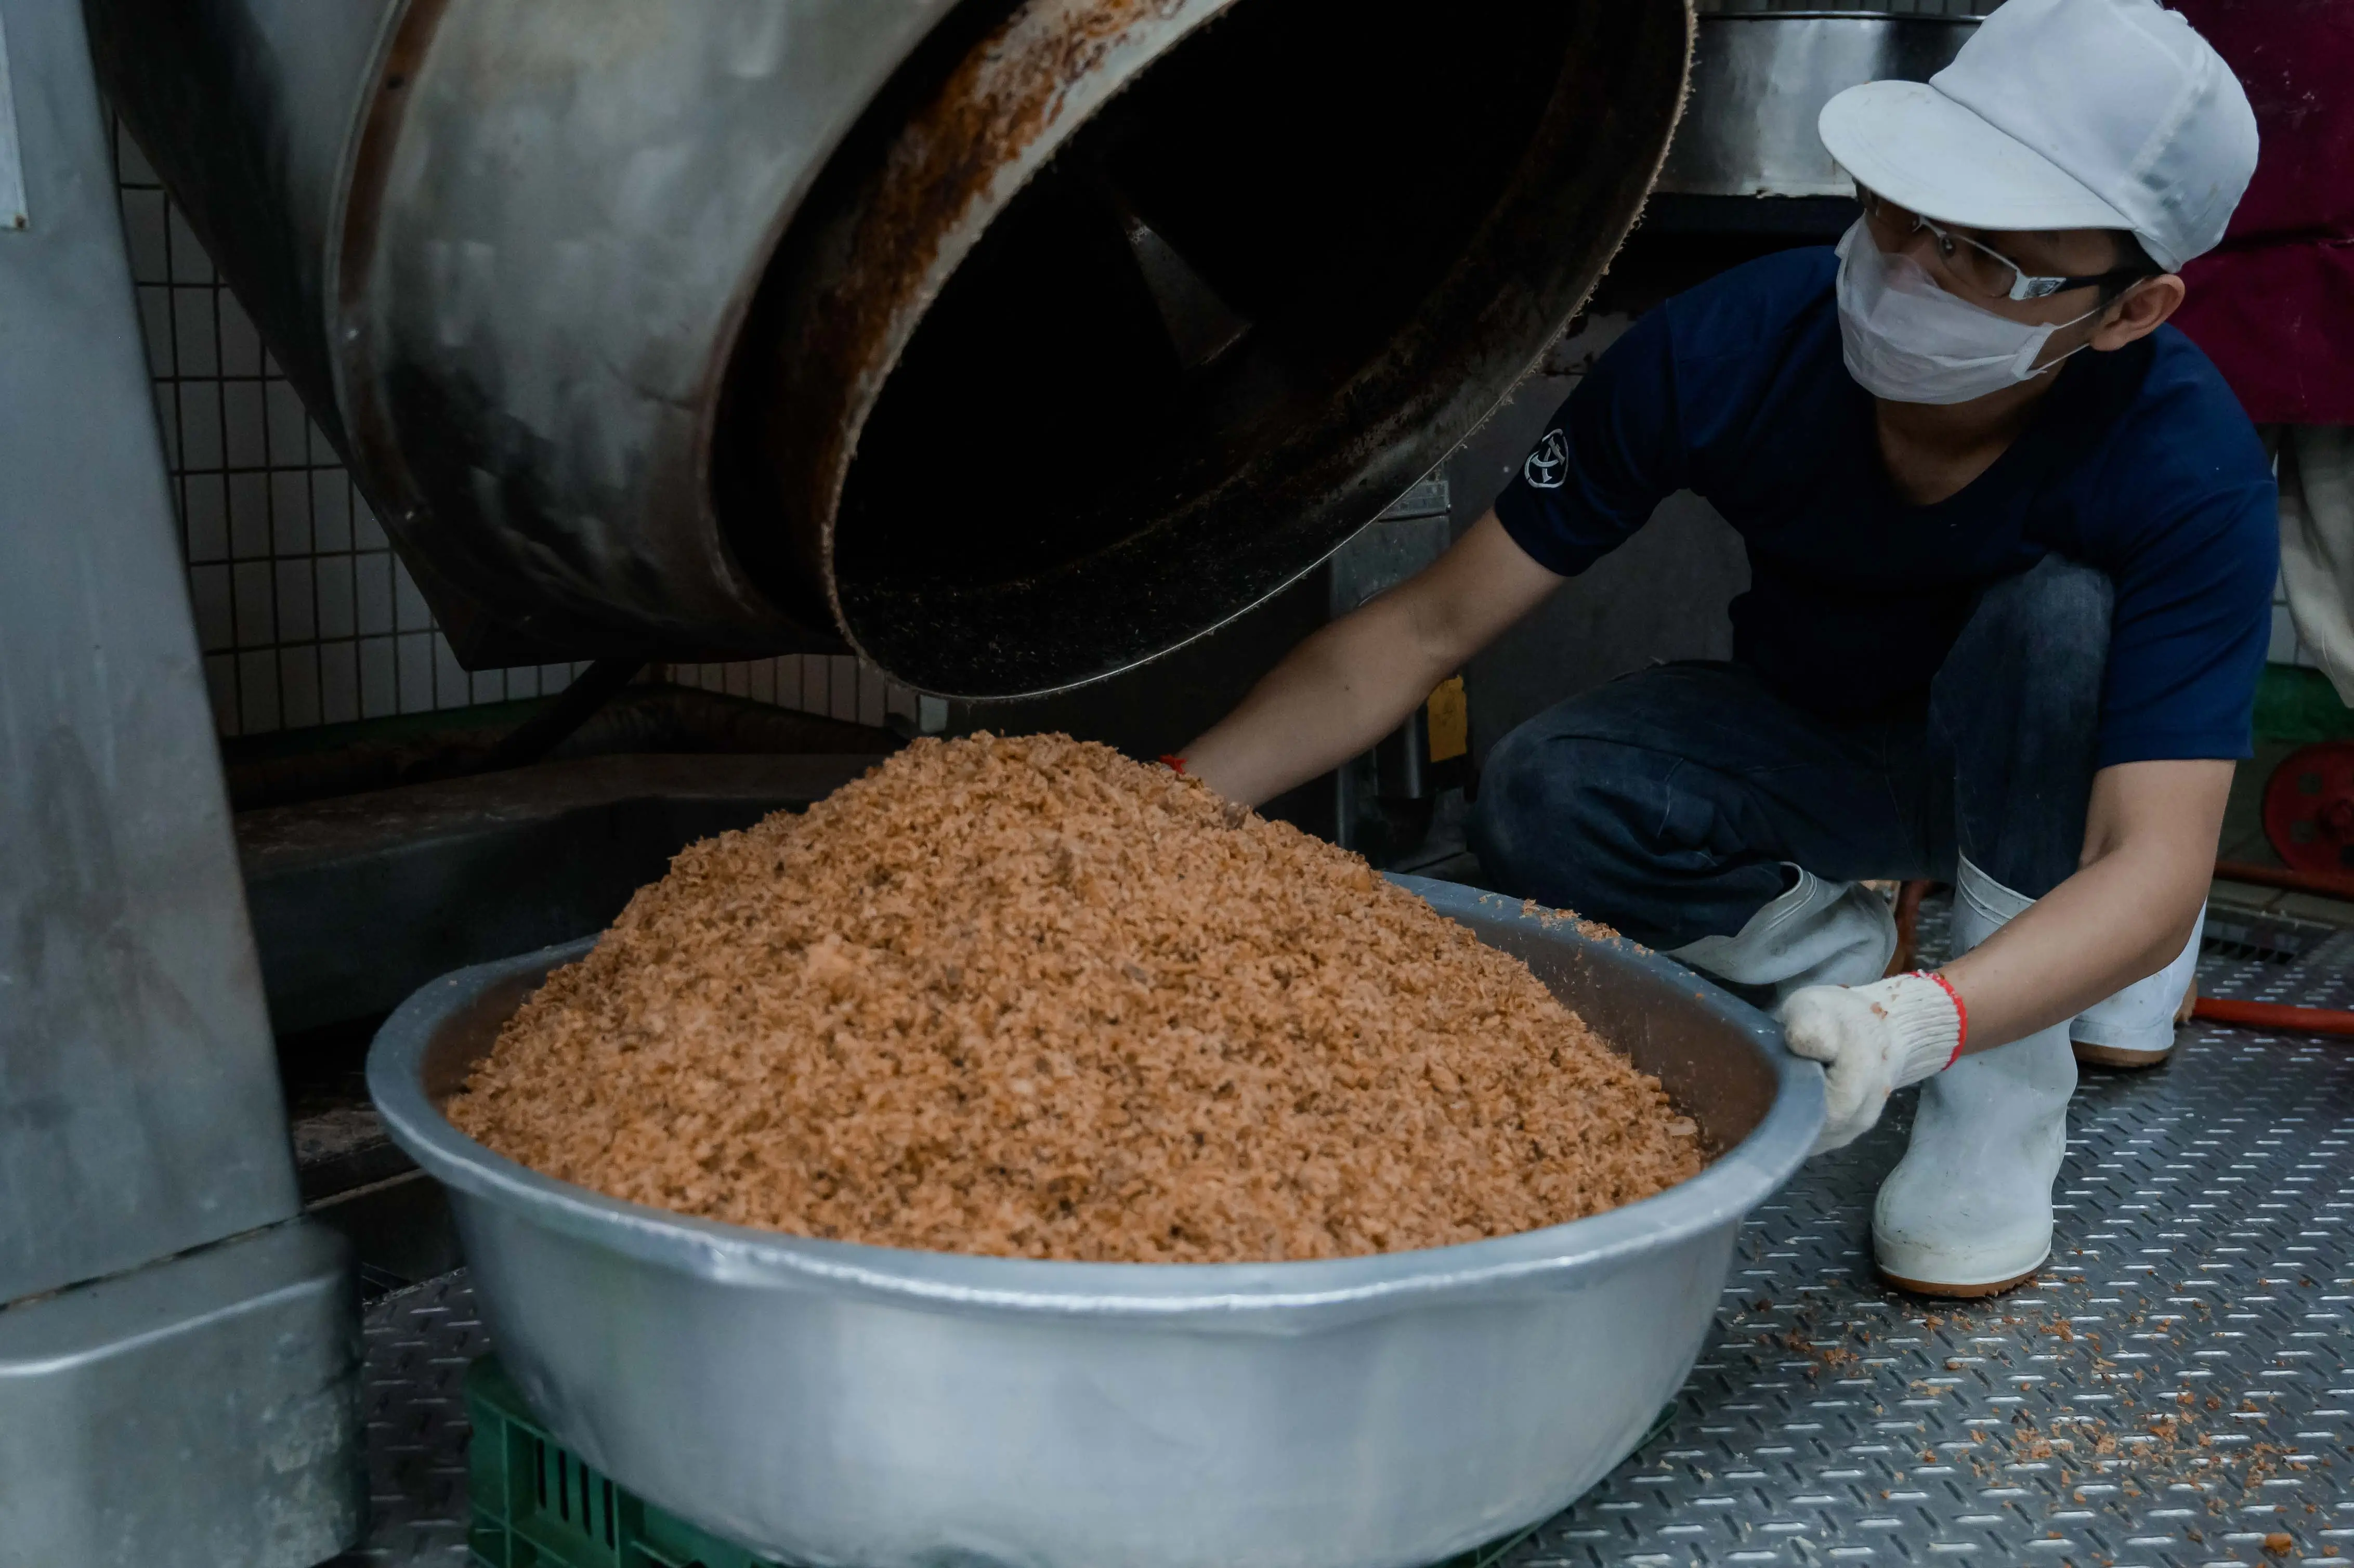
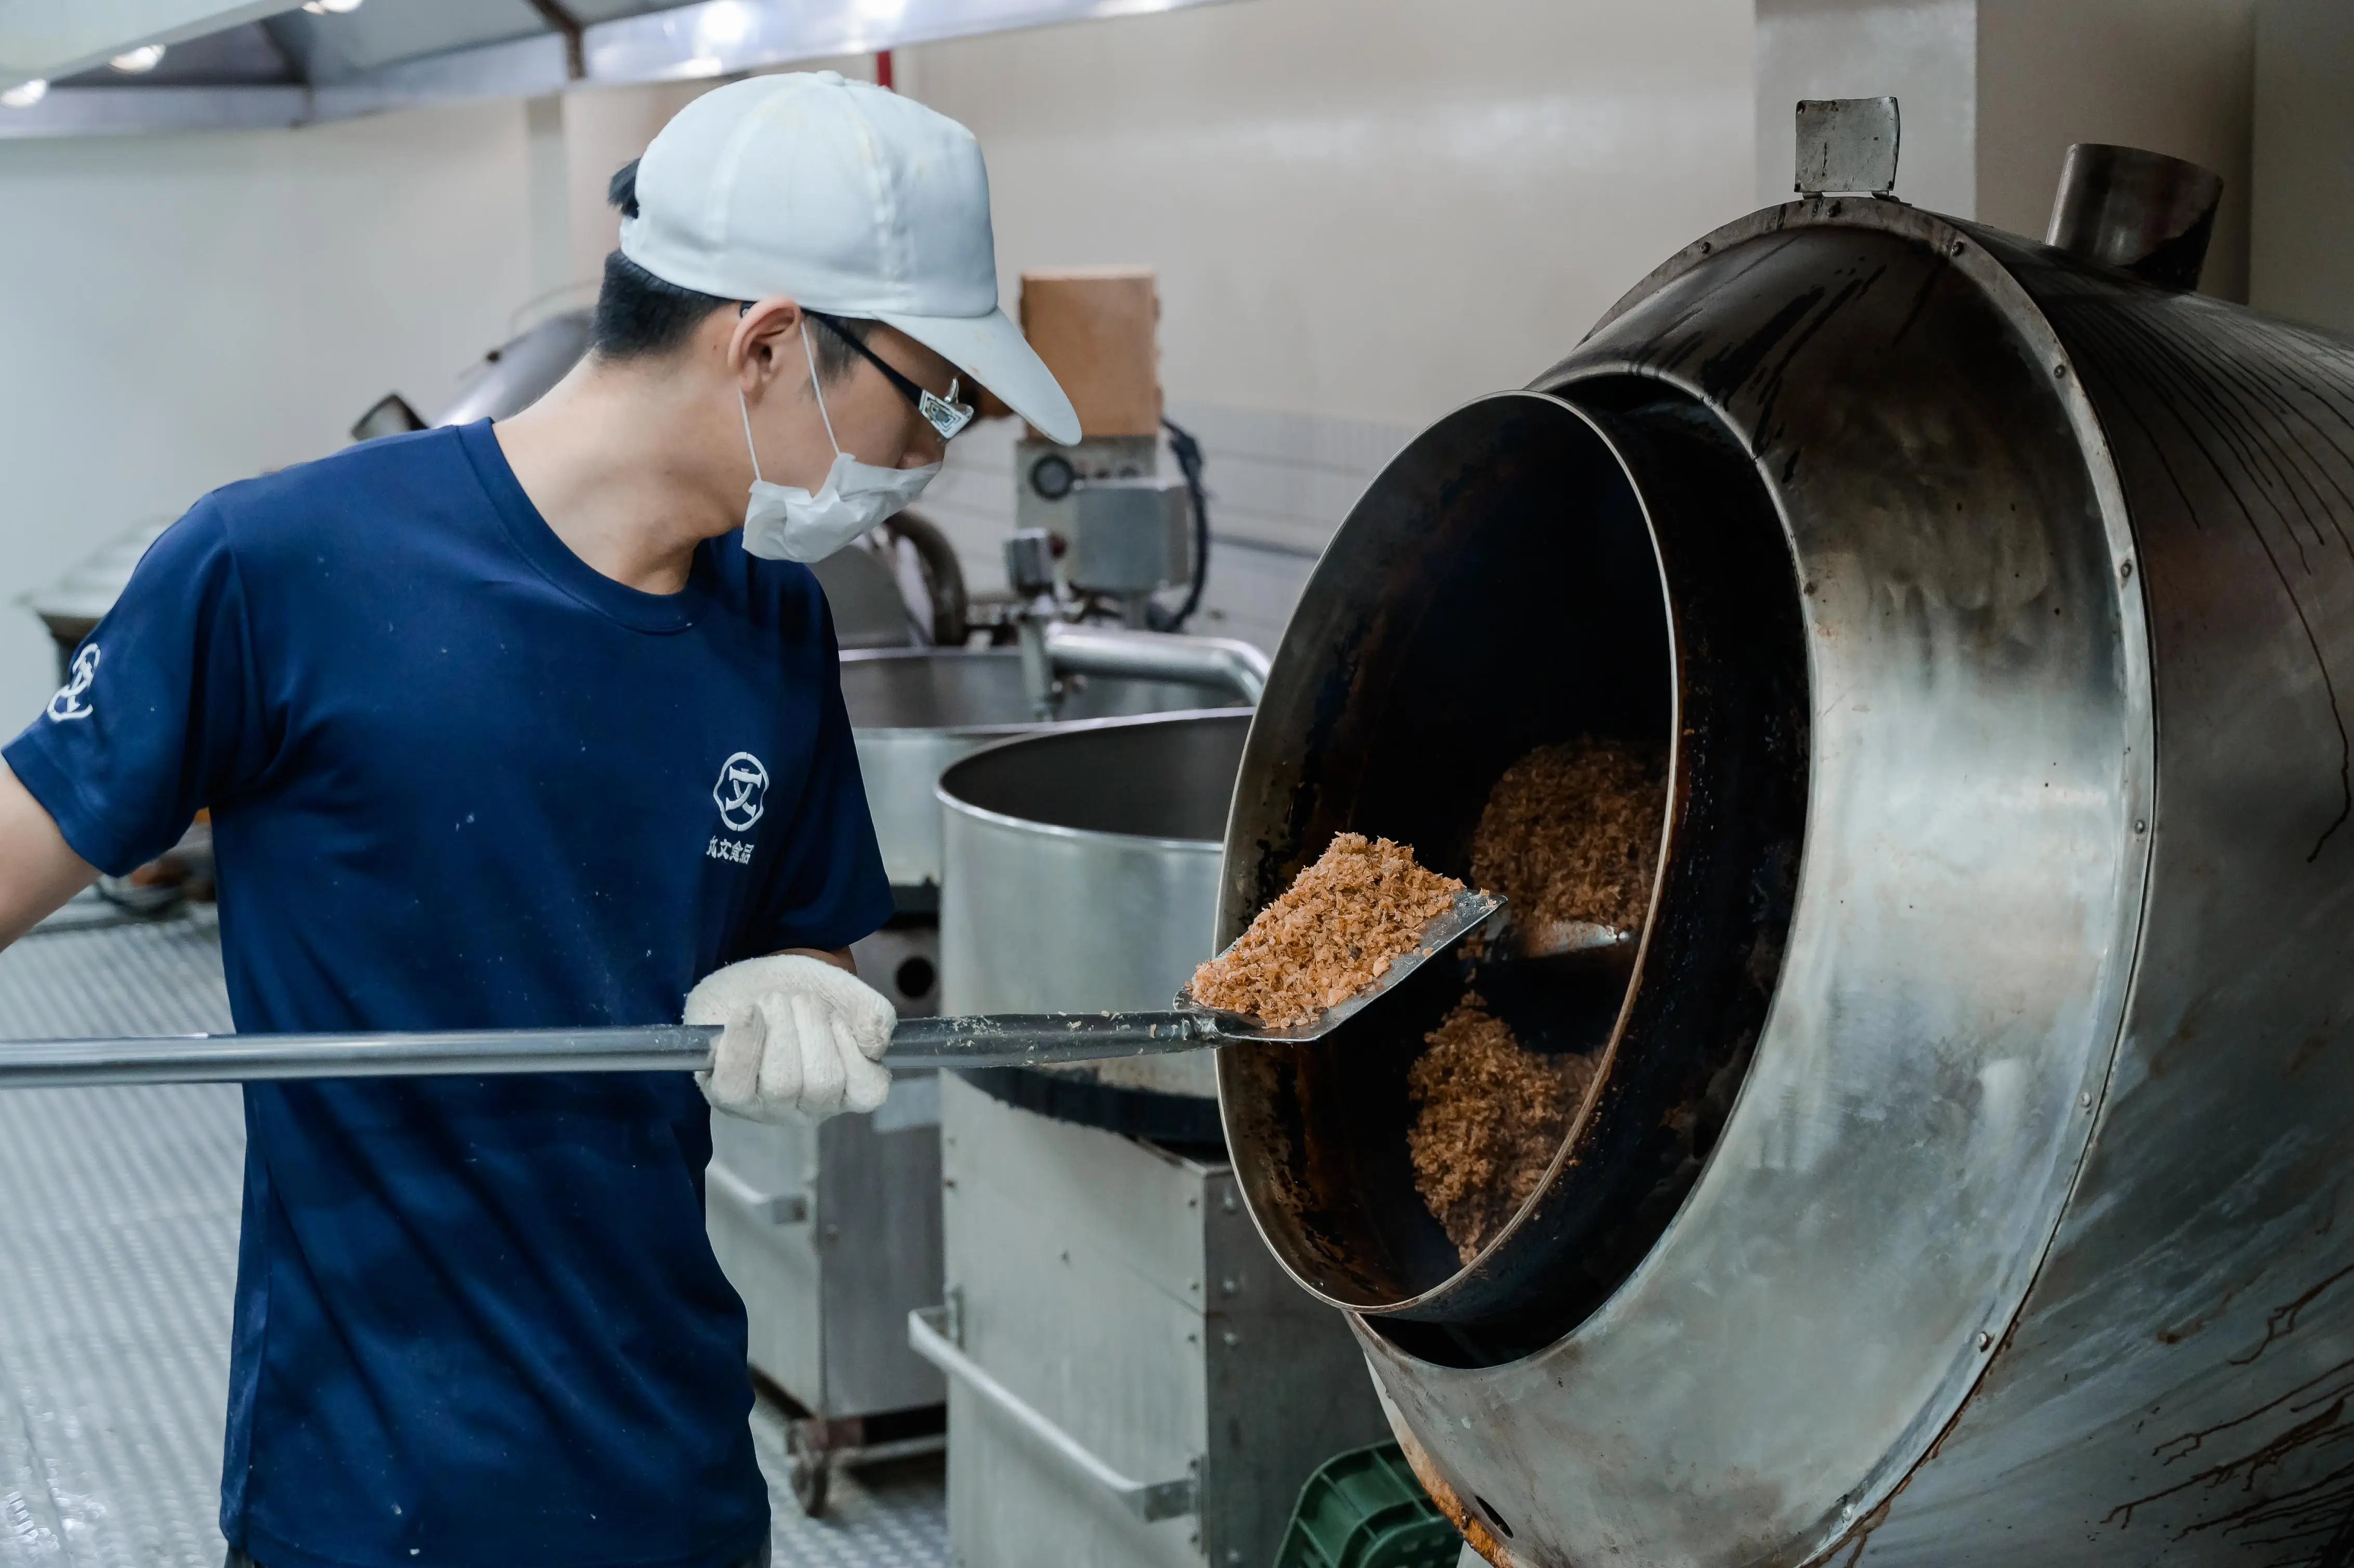
Heat oil in a wide pan over medium heat. Add your shredded fish fibers once the oil shimmers. Stir without stopping. The fibers will release steam as moisture leaves them. Keep the heat steady. High heat burns the outside before the inside dries. You want even drying, not a quick char. This first fry preserves the fish and sets up the texture. The fibers should feel lighter as they cook. They will also shrink a little. When the steam slows down, pull the fibers out. Drain them on paper towels. Some producers run the dried fibers through a grinder or blender after this first fry. This step breaks the strands into finer pieces. Finer pieces absorb seasoning better in the next round. You can skip this step at home if your shreds are already fine.
Second Fry And Seasoning Paste
Now build your seasoning paste. Salt, and cooking oil until smooth.
Return the fibers to the pan with a little oil. Cook over low heat. Add the seasoning paste and stir it through the fibers. Keep the heat low. Stir constantly during this time. The paste needs to coat every strand evenly. Low heat lets the flavors soak in without scorching the paste.
Watch the color and texture as you stir. The floss is ready when it looks right.
That visual cue tells you the second fry is done. Pull the pan off the heat. Let the floss rest for a moment before the next stage.
A fish floss manufacturer uses the same low-heat, long-stir method for consistent batches. The patience you show here decides the final quality. Rushed frying gives you clumps. Slow frying gives you separate, crisp strands.
Cooling And Packaging
Cooling And Airtight Packing
Pull the pan off the heat and spread the floss in a thin layer on a wide tray. Let it cool completely at room temperature. Warm floss traps steam inside the container. That trapped moisture softens the crisp strands you worked so hard to create. Wait until the floss feels cool and dry to the touch before you scoop it up.
Extending Shelf Life
Proper drying before packing extends shelf life without any additives. Return the cooled floss to low heat if it still feels soft. Stir constantly during this final dry. The fibers should feel light and brittle, not damp. Moisture is the main enemy of long storage.
Keep your sealed containers in a cool, dry place away from direct sunlight. Heat and humidity break down the texture over time. A fish floss manufacturer follows the same storage logic at scale. Once you open a can, reseal it tightly and use the contents promptly for the best flavor and crunch.
You now know the full journey from picking fresh fish to sealing the final can. Choose low-bone fish, keep your heat low, and stir without stopping. These three habits carry you through every stage. The double fry rewards your patience with light, golden strands.
Store your finished floss in an airtight container. Keep it in a cool, dry place away from sunlight. This protects the crunch you worked so hard to build.
Grab a firm fillet this weekend. Follow these steps at your own pace. Your first homemade batch will teach you more than any guide can.
FAQ
Which fish should you pick for homemade fish floss?
Choose meaty, low-bone fish. Swordfish,Tuna, mackerel, tilapia, barramundi, cod, and basa all work well. Firm, fresh fillets shred into clean fibers and save you time at the deboning stage. Soft or damaged flesh gives you a mushy result.
Do you need to stew the fish before boiling?
No. Fish meat is low in collagen and elastin, the proteins that need long cooking to break down. Stewing wastes time and can make the flesh mushy. Steam the fish bodies first, then debone and boil the clean meat gently.
Why does the recipe call for two frying rounds?
The first fry removes moisture and sets the texture. The second fry lets the seasoning paste soak into the fibers. Skip the first round and the floss turns soggy. Skip the second and it lacks flavor.
How do you know when the second fry is finished?
Watch the color and texture as you stir. The floss is ready when it looks dry, golden, and slightly fibrous to the touch. This happens over low heat with constant stirring. Rushed frying gives you clumps instead of separate strands.
How should you store finished fish floss?
Cool the floss completely, then pack it into airtight containers. Food-grade aluminum laminated cans block moisture, oxygen, and aroma. Keep sealed containers in a cool, dry place away from sunlight. Once you open a can, reseal it tightly and use the contents promptly.